

How To Trace A Sketch In Illustrator
How to edit drawings in Illustrator with Image Trace
At any mention of Adobe Illustrator, images spring to mind of smooth lines, flat colour and vector style illustrations. Which is nice, of course... but a bit limiting. Artwork that is edited or created in Illustrator does not always have to have the same 'vector look'.
Adobe's Creative Cloud software is also a powerful tool for artists who draw by hand, preferring sketchbooks, ink and pencil to a screen but who still like the flexibility, unlimited undos, and labour-saving benefits of using Illustrator.
The Image Trace tool is an excellent tool for illustrators who want to retain the integral hand-drawn linear quality of their artwork, in this tutorial I will run you through the steps of how to do just that...
01. Create the artwork

Create the artwork in your usual hand-drawn way. This image is drawn in my sketchbook in pencil and then painted with ink using a fine brush – it's a drawing for the cover of my new book, 'This belongs to me'. Scan the image in hi-res JPG or TIFF at 300dps, drag and drop into an open Illustrator page or go to Image>Place.
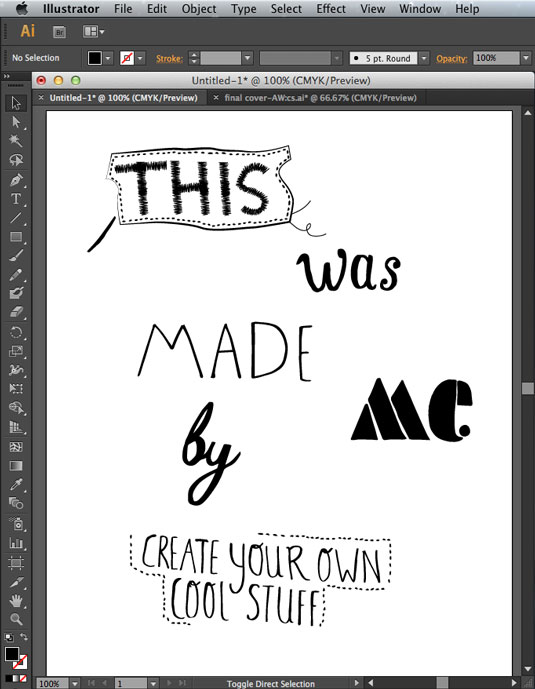
I have purposely left the central area of the rucksack blank as I want to add hand-drawn type. I have drawn the type separately as I want to be able to edit, tweak and recompose the type in Illustrator. Open a separate document and do exactly the same with the hand-drawn type.
03. Convert to vector
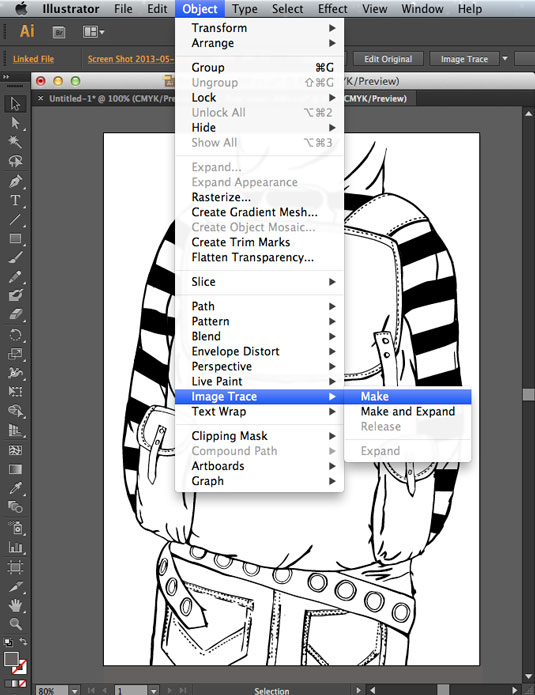
Click on your image using the black selection tool, go to Object>Image Trace>Make. What you are doing here is converting a pixel-based image into a vector. This will give you the freedom of not being restricted by resolution, you can make your image or elements of the image dramatically larger without the pixelation that occurs in Photoshop.
As with any vector the more contrast and less tone in your original image the better, Illustrator can't deal with subtle tonal values so line drawing and ink are perfect here.
04. Choose level

At the top toolbar under Preset you have different levels, I have chosen the Technical Drawing setting as I find it the most accurate but you can experiment with all settings and just undo (Edit>Undo).
05. Unlock the vector

Once you are happy go to Object>Image Trace>Expand. This unlocks the vector but you will find that Illustrator will always group all the elements together, so you will need to highlight the entire image and ungroup – I find I need to ungroup several times to ungroup the image. Then are now ready to edit.
Next page: the final five steps
Current page: Page 1
Next Page Page 2
Anna Wray is an illustrator/author and a visiting lecturer on the Ba(Hons) Illustration at Cambridge School of Art. Check out her work and writing on her website.
Related articles
How To Trace A Sketch In Illustrator
Source: https://www.creativebloq.com/illustrator/edit-drawings-image-trace-5132576
Posted by: shepardthalow.blogspot.com
0 Response to "How To Trace A Sketch In Illustrator"
Post a Comment